How To Style: Bandanas!!!!

If you know me, you know that I’m a huge fan of bandanas! They’re so versatile and easy to style AND they instantly turn an outfit from drab to fab!! So I thought it only fitting that my first styling post be about bandanas!
As I mentioned, this accessory is SUPER versatile!! There are so many ways to wear it. For now, I’ll highlight 4 ways that I, personally, like to style this piece.

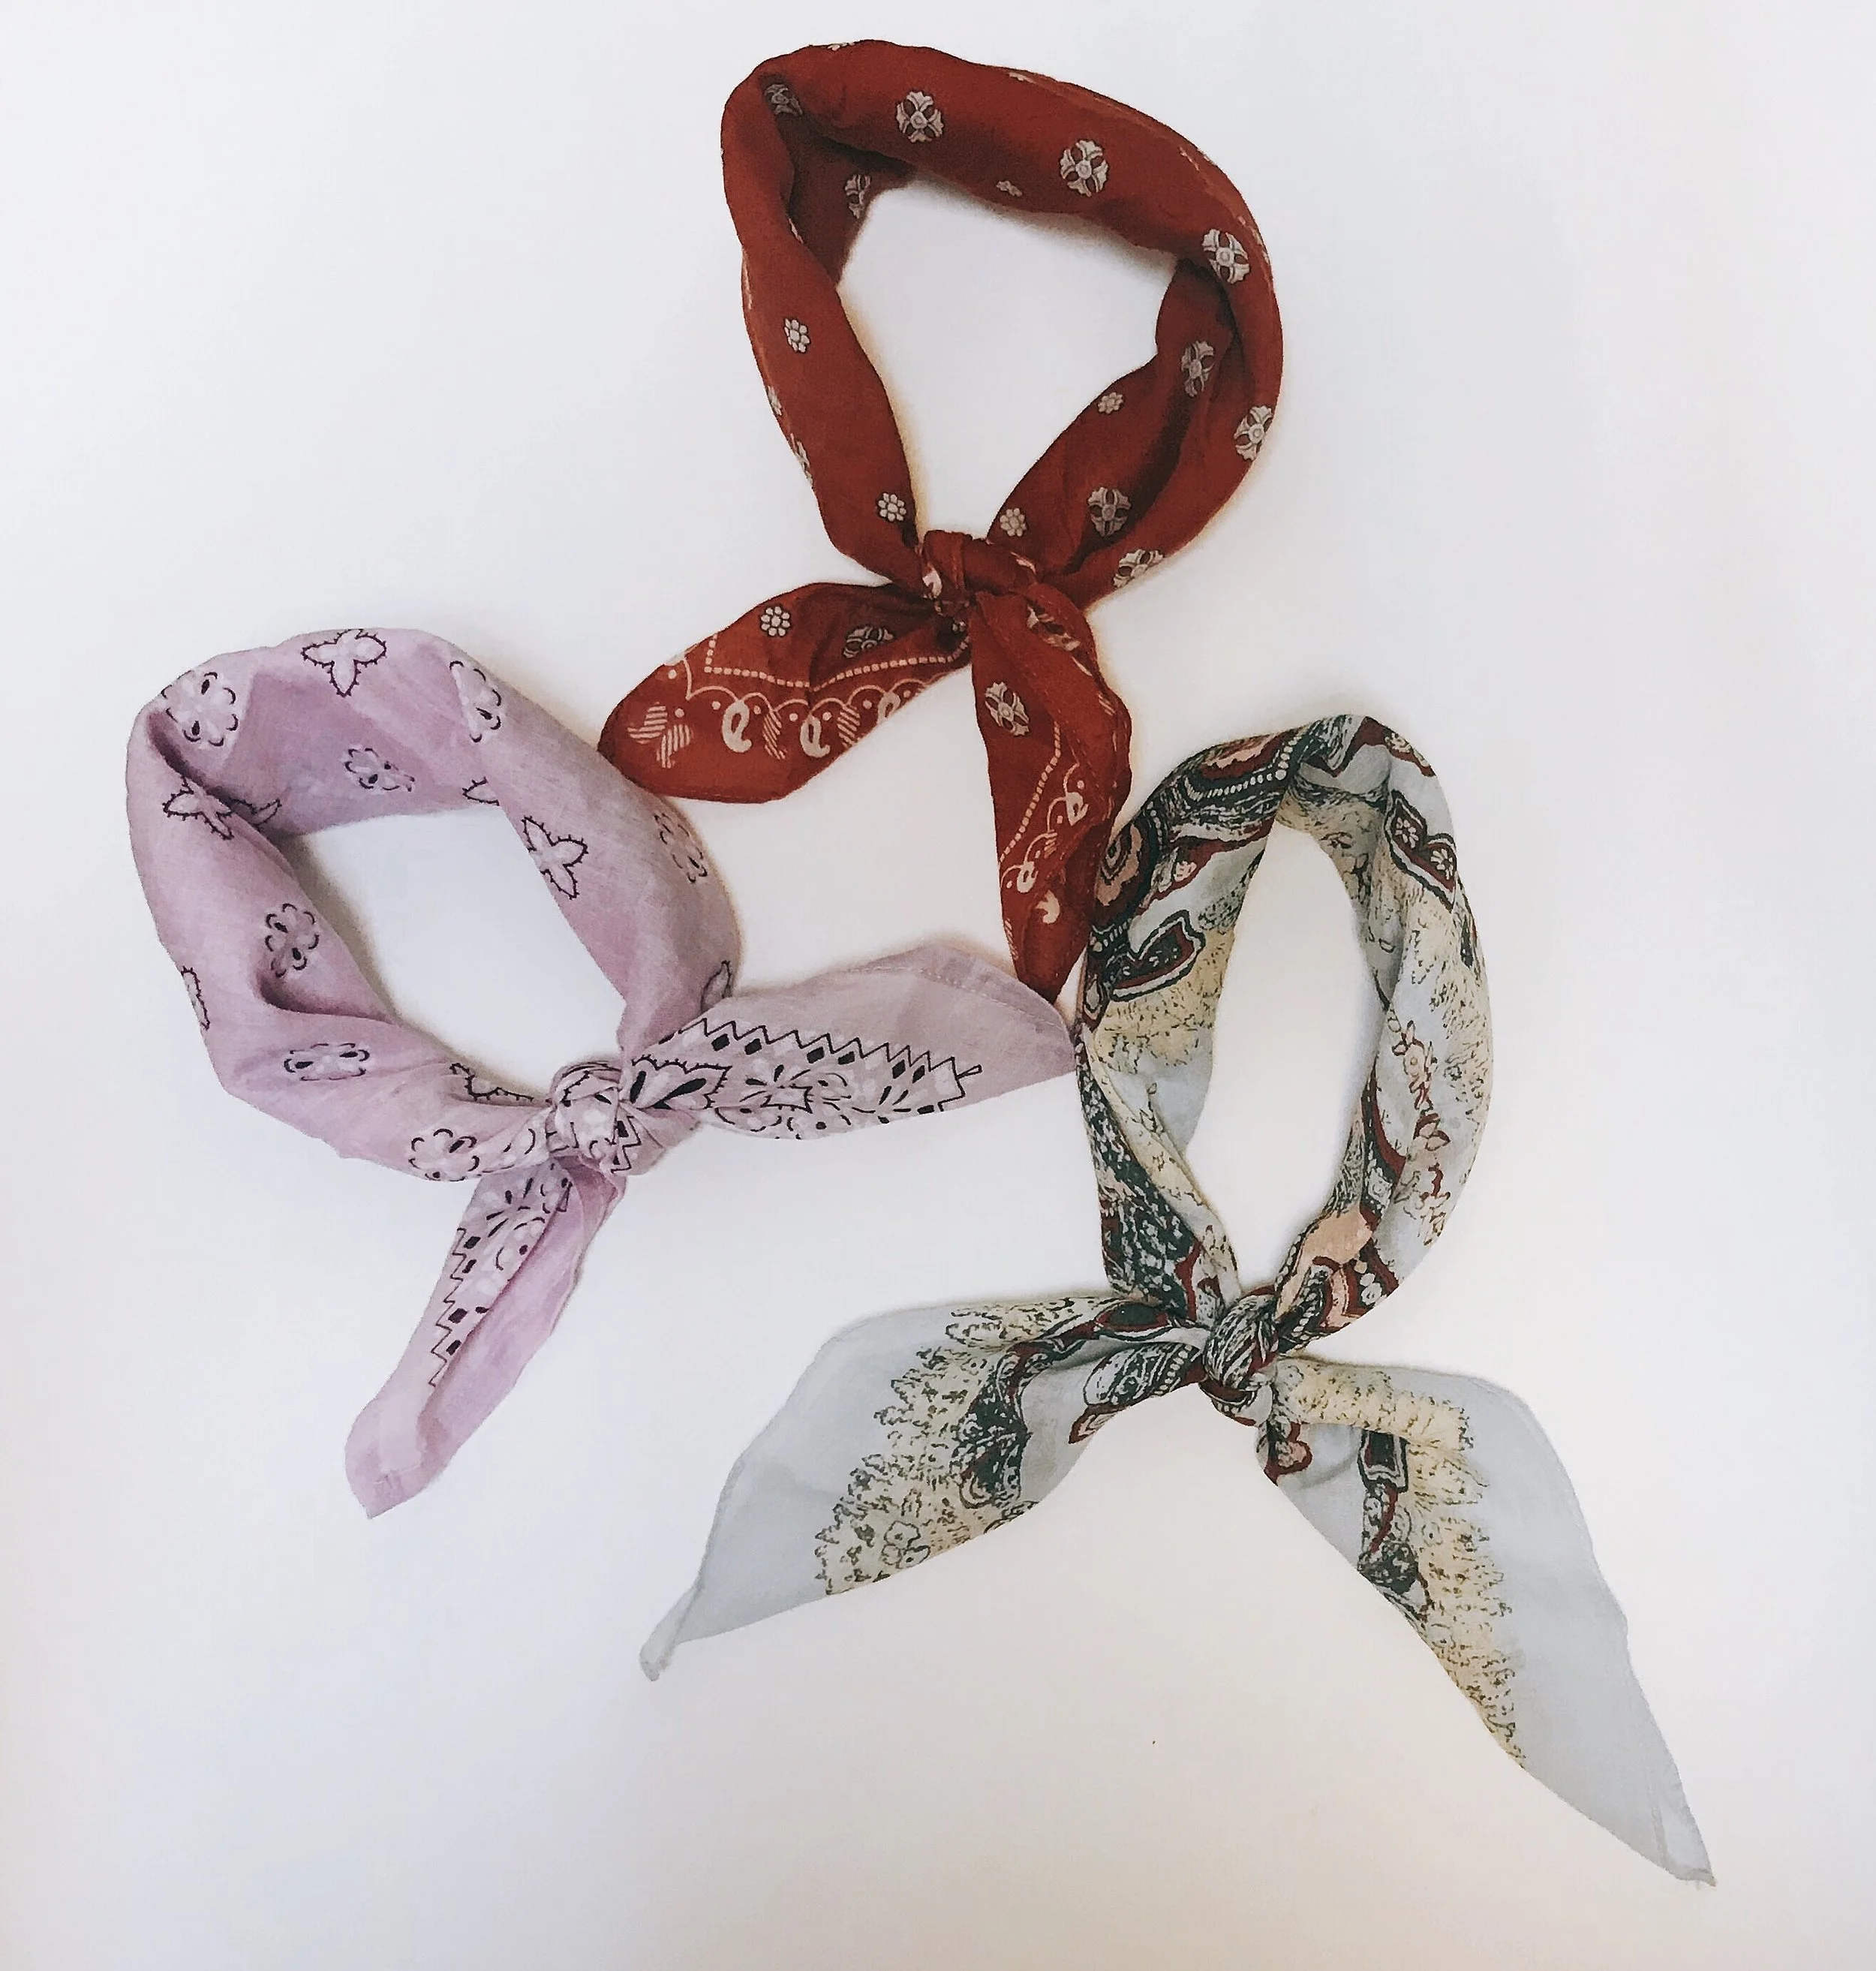

NOTE: these are a different type of bandana. They’re basically just long strips of fabric. A skinny bandana! You can easily DIY this type!
1.Neckerchief
Honestly, I don’t really know how to term this. Some people call it a neck-scarf, some people call it a scarf. People like me call it a neckerchief. So we’re just gonna roll with it. This is probably the most common way I wear my bandanas. You can either wear it very loose around your neck, or tie it very tightly around your neck so that it kind of hugs your neck. Personally, I’m not a fan of the whole constrict-your-neck situation, so I like to tie mine a little looser.


2. Belt-Loop-Dee-Doo
Ok I really don’t know what to call this so I literally just made this term up. You can call it whatever you wish. I don’t really wear my bandanas like this very often (maybe I should), but this is another way I’ve seen other people style it, and it works! I think it would look especially good if your top and bottom are pretty basic colors and you just want to add a quick pop of color! If you’re wearing a monochrome look (i.e. white-on-white or black-on-black) this would be a fun way to break up the color a lil bit!


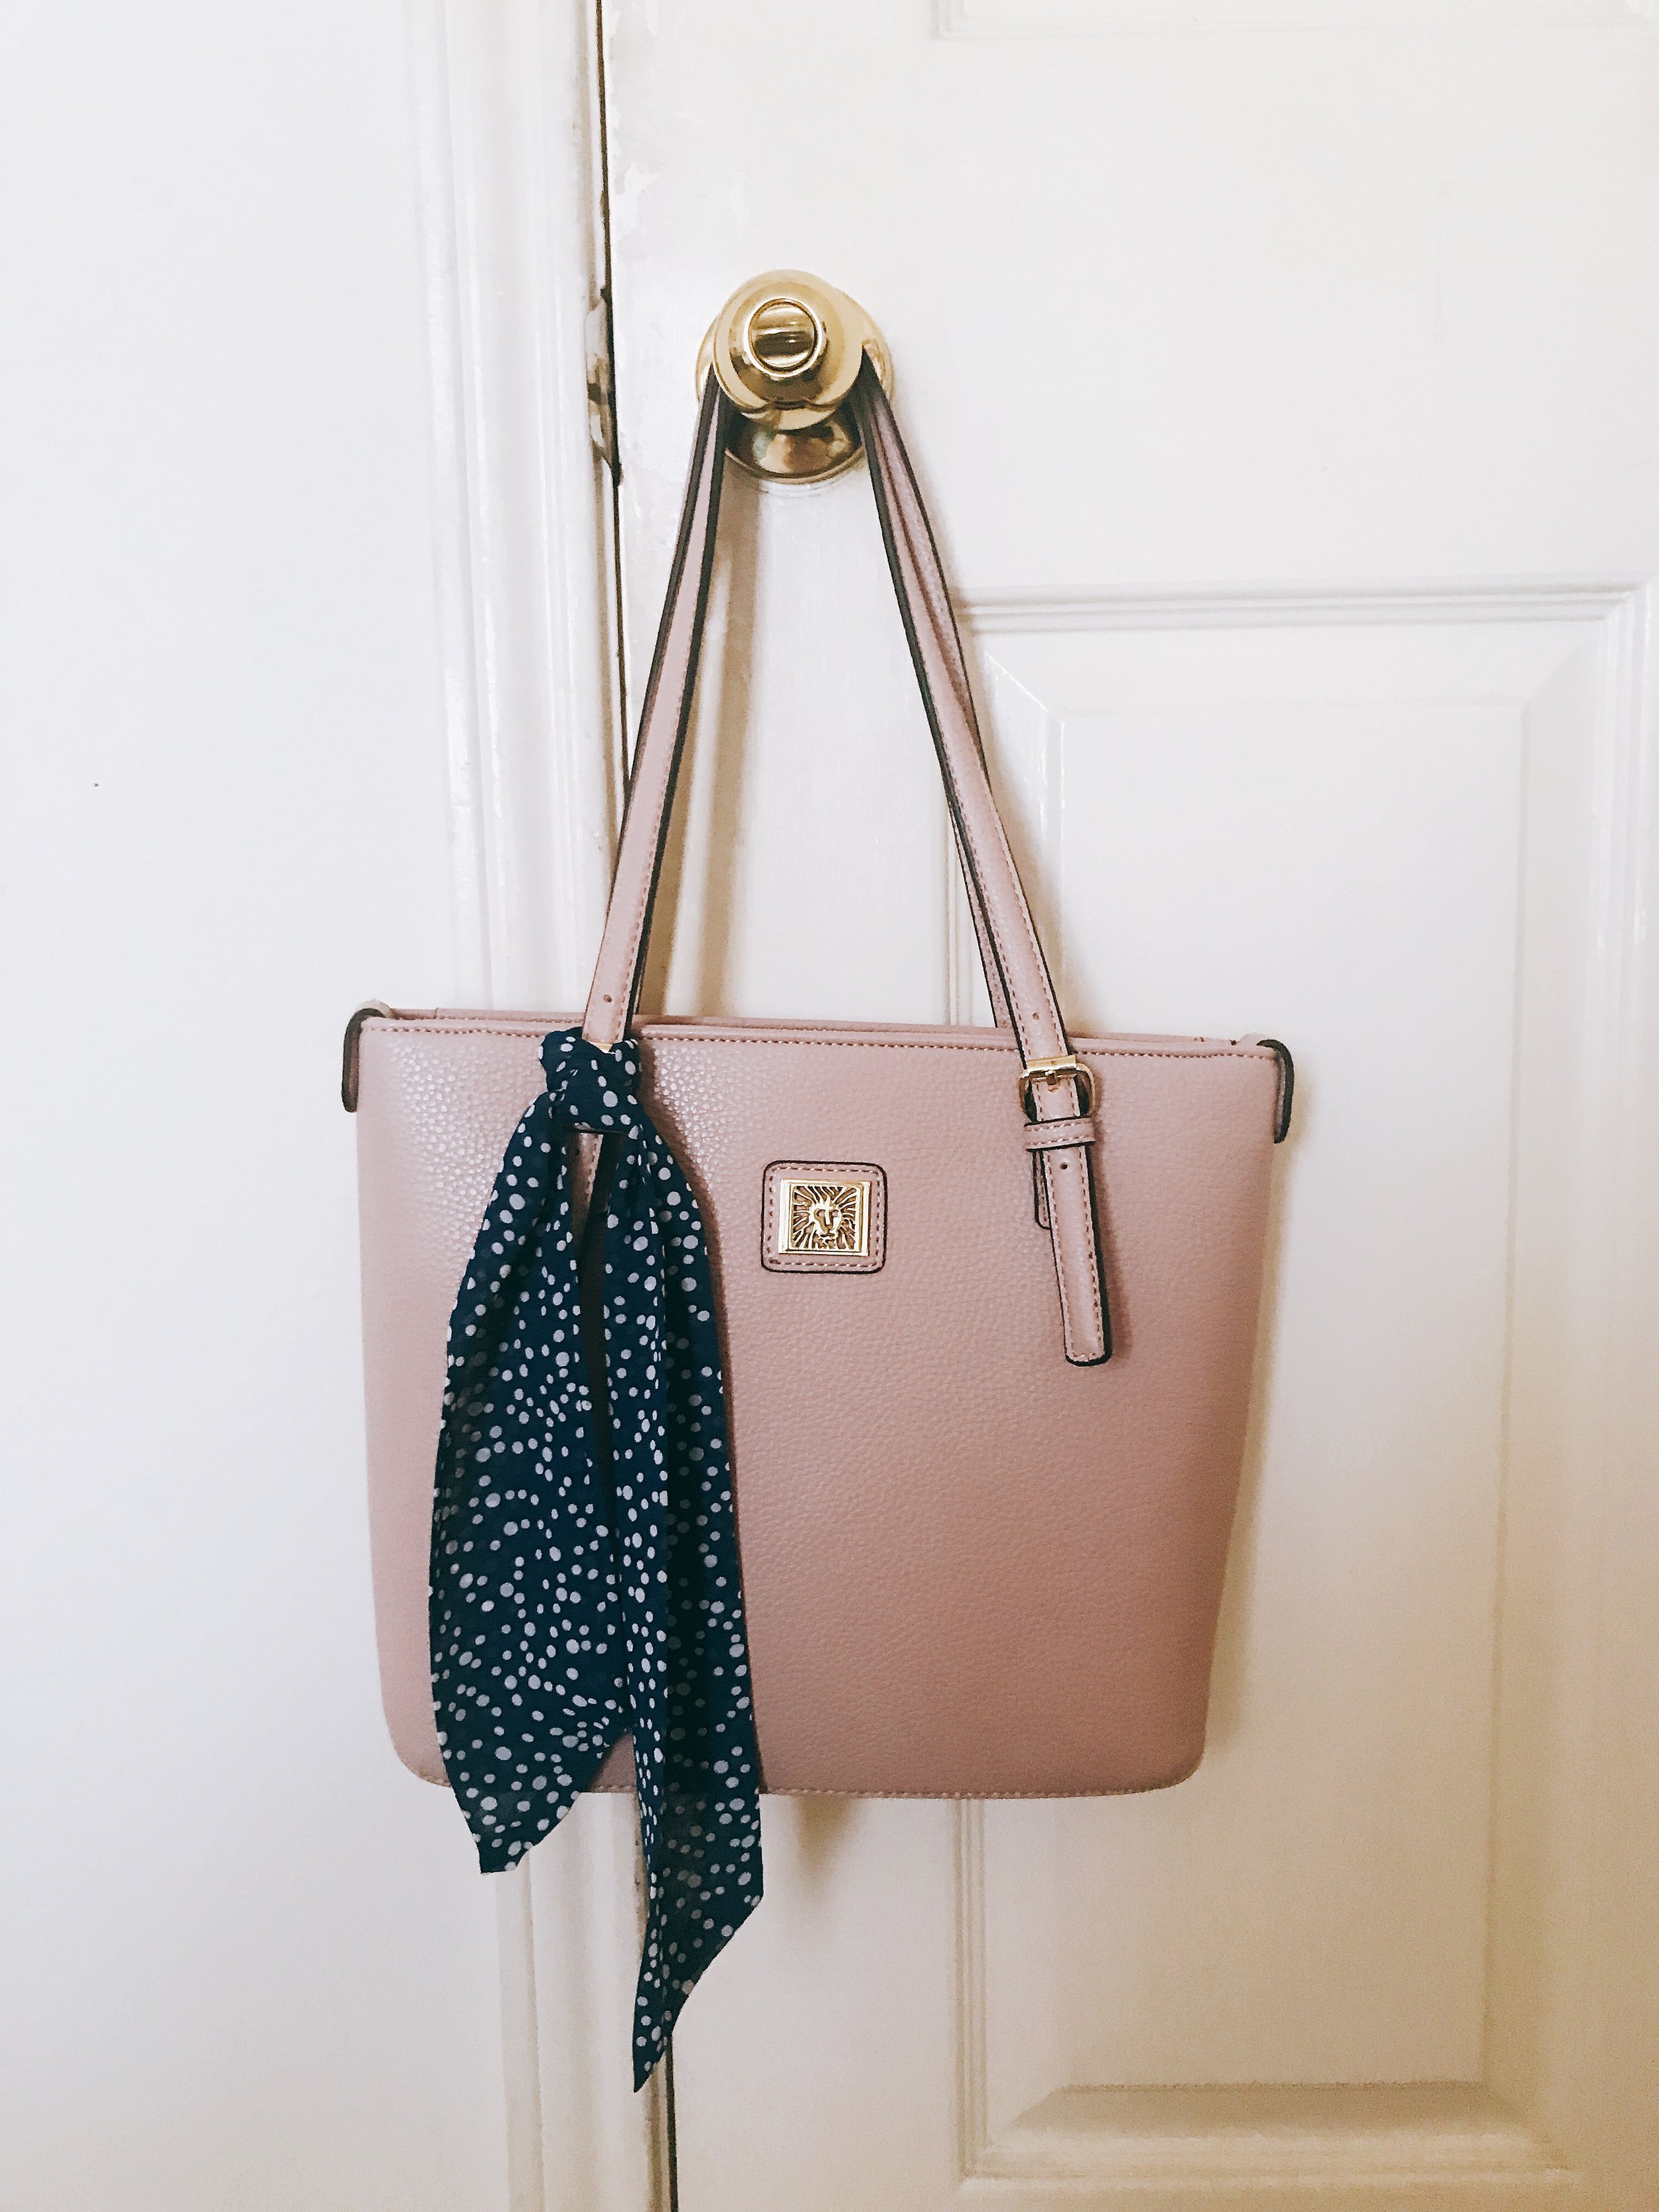
3. Purse-onal Touch
Ok yea at this point I’m just making names up. Das ok though cuz life is what you make of it amirite?? Anywayyyys, this is the purse that I use when I go to church! I always have this blue skinny bandana (that I DIY’ed from a belt hehe) tied around my purse handle. Since my purse was looking a little plain, I decided to add a bandana to make it a liiiiiiitle more fun. TIP: Use contrasting colors for extra POP!! Since my purse is a pastel color, I went for a darker/richer-colored bandana.


4. Hair Accessory Part 1: The Ponytail Wrap
I like to wear my hair in a low ponytail a lot because it keeps all my hair out of my face. But if you’re anything like me, you get tired of whipping up the same hairstyle over and over again. So this is a way to spice it up a little. I basically just tie the bandana around my ponytail and wha-la! I have a whole new hairstyle. AND it’s effortlessly chic! If you don’t want to look like you just threw your hair in a ponytail after rolling out of bed, add a bandana and it’ll look like you actually tried! I’m telling ya, it’s great.


Hair Accessory Part 2: The Cutesy Headwrap
There’s a reason I called this cutesy. I basically just wrapped this around my head to form a sort of headband looking thing and knotted it at the top. You can either leave the ends out hanging for a cuter look, or tuck the ends in underneath the headband to create a cleaner, more traditional headband look.


Alright. Now that we’ve discussed ways to style, let’s talk about how to fold it! I remember when I got my first bandana, I had no clue how to fold it and I had to watch YouTube videos to teach myself how. So I thought I’d share with you how I fold mine. Different people fold theirs different ways, but this is just the easiest, best-looking method that I’ve found.
HOW TO FOLD A BANDANA IN 6 STEPS

STEP 1: Lay the bandana out flat.

STEP 2: Fold the bandana diagonally so you make a triangle.

STEP 3: Fold the tip of the triangle so it touches the other side (hypotenuse??) of the triangle. You should be looking at a pentagon now.

STEP 4: Fold 1/3 of the pentagon shape down hot-dog style. You have just formed… a flatter pentagon!!
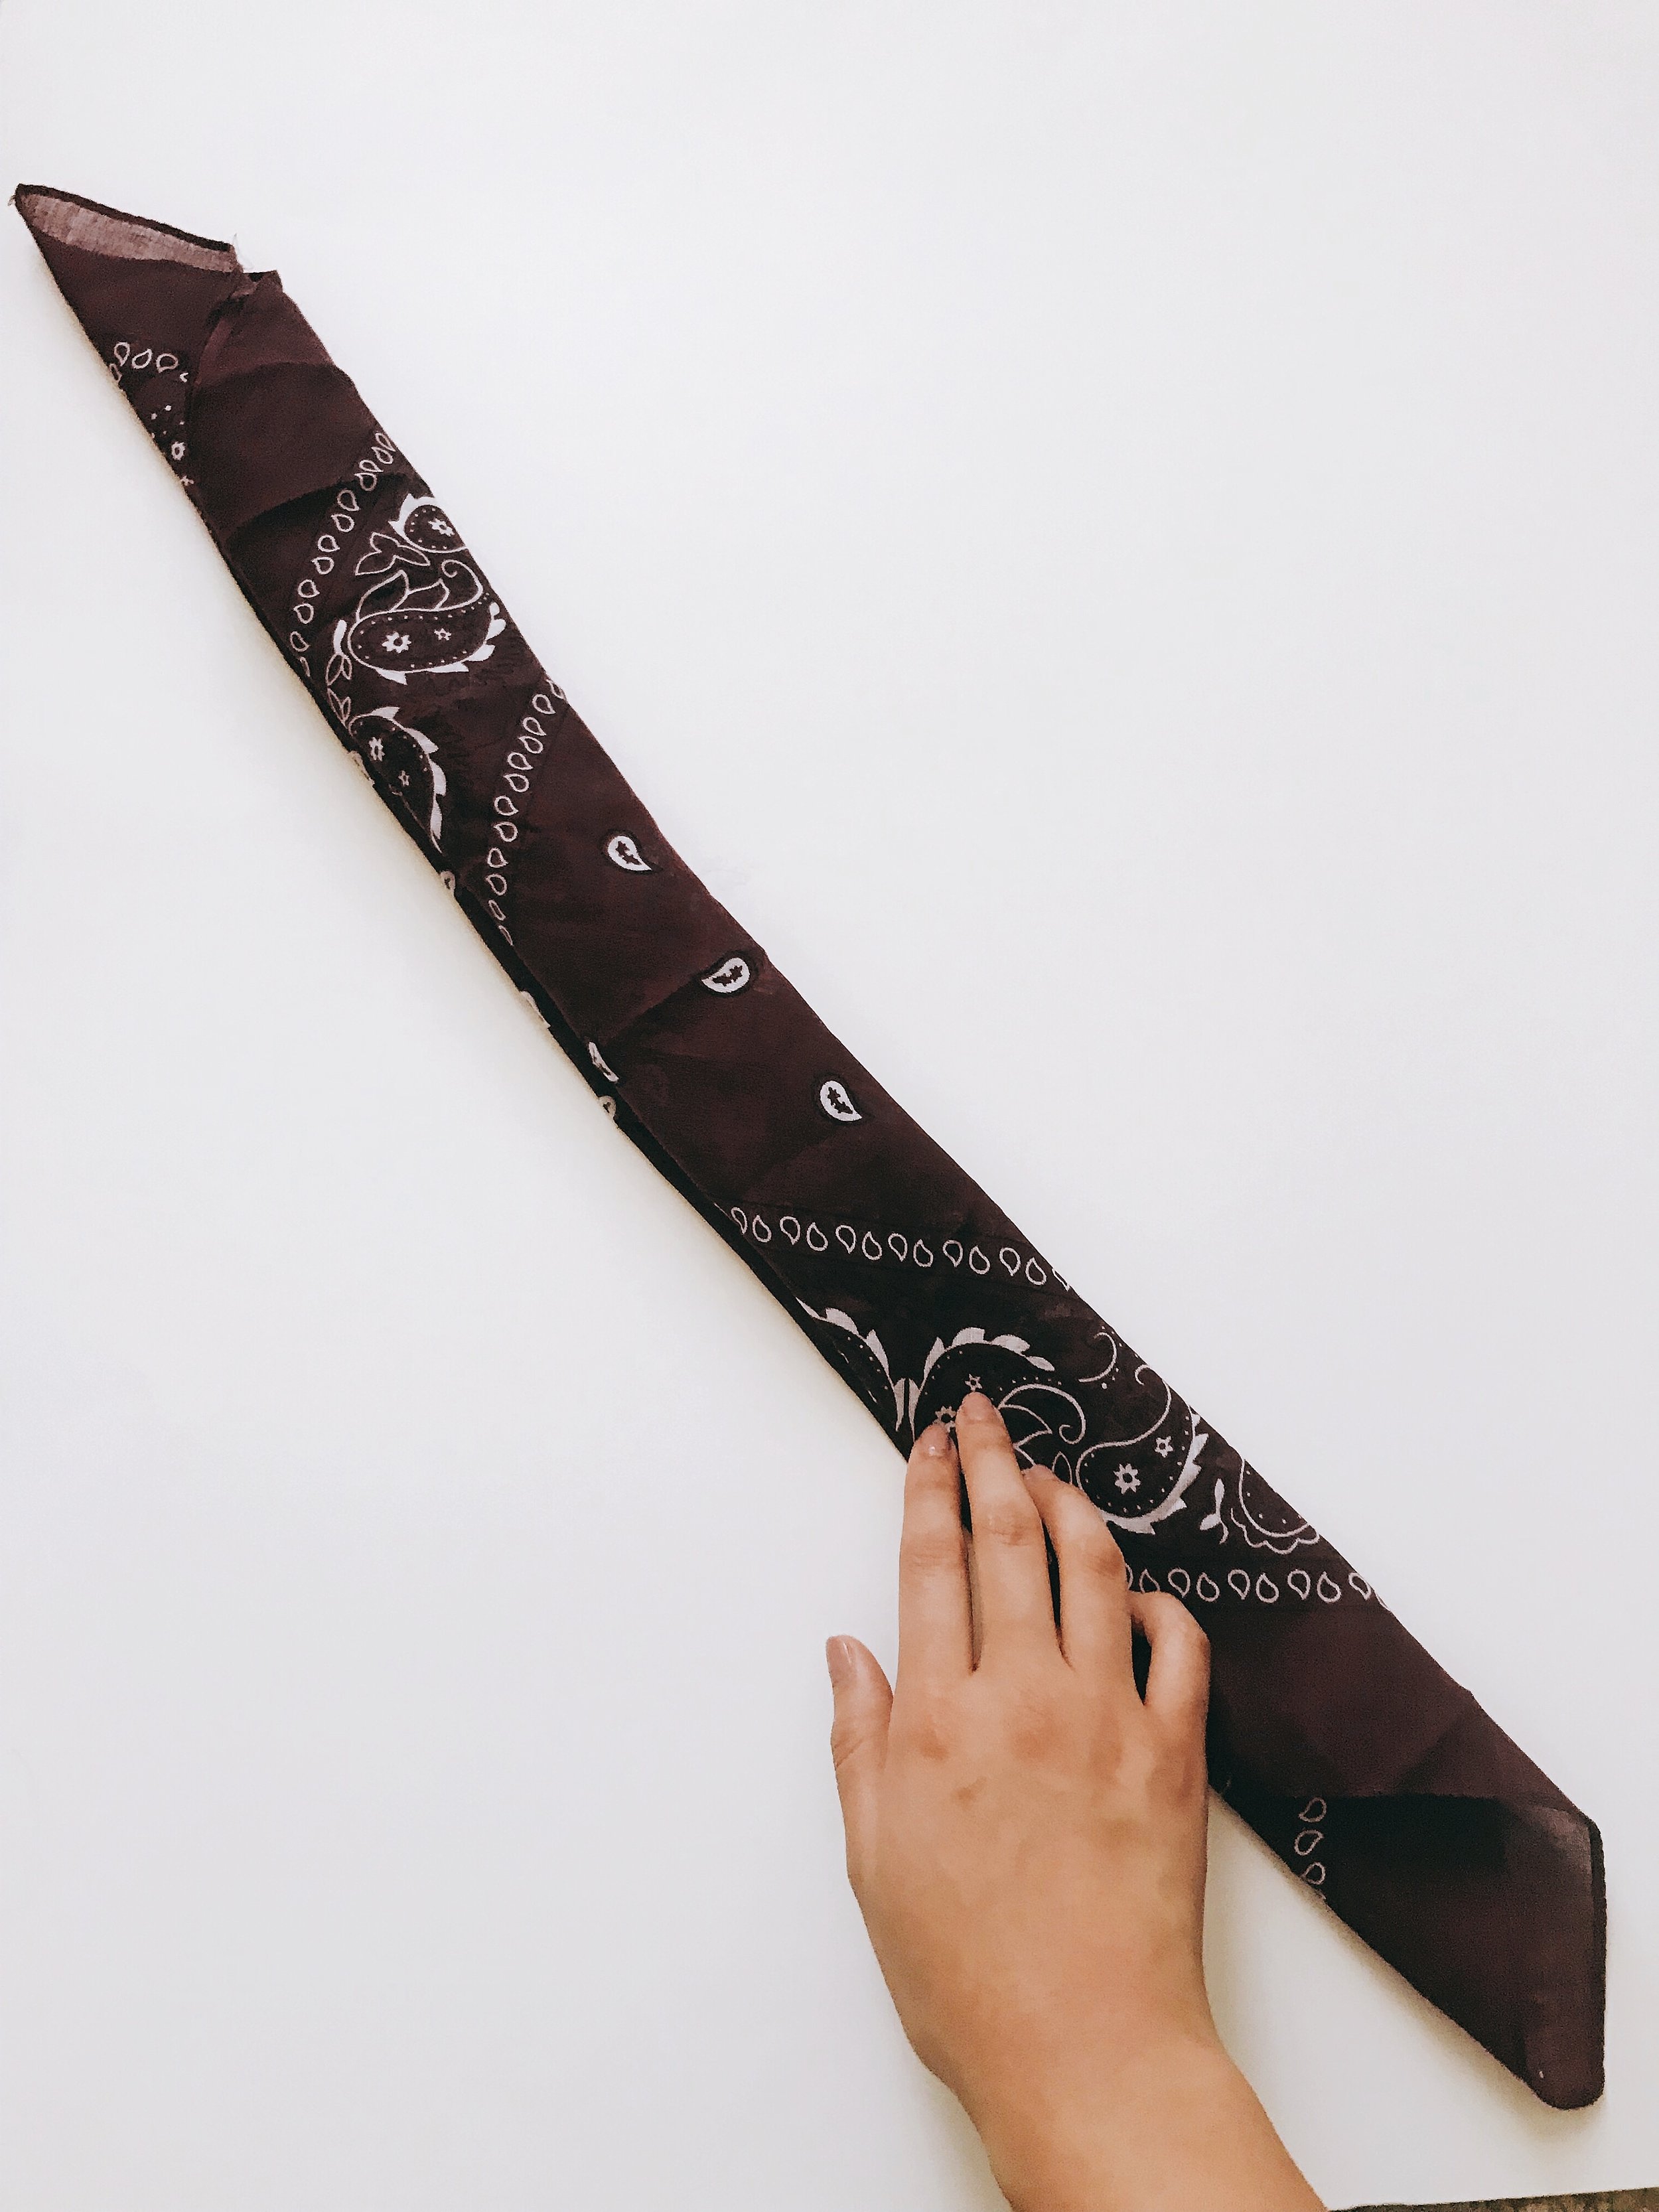
STEP 5: Fold the flat pentagon down again hot-dog style. Now you should just have a strip.

STEP 6: Tie the ends together and BAM! You have your bandana!! You may have to adjust your knot by yanking the ends of the bandana to point in the direction you want them to point.
And there you have it!! That’s my take on bandanas! Of course, there are sooooo many other ways to style this accessory. I hope through this post you were inspired to experiment with a bandana of your own! And if y’all come up with other ways to style it, I’d love to hear from you!! :)
~jo